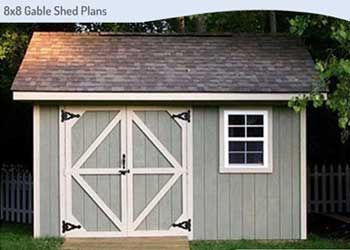
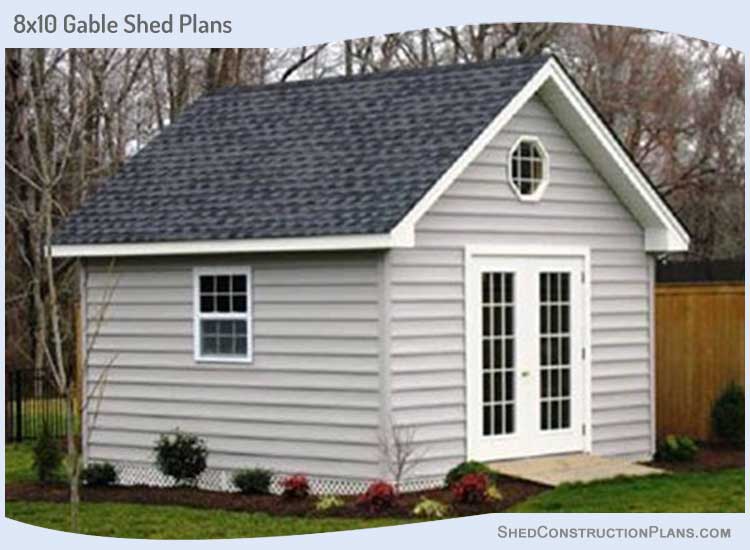
These 8×10 storage shed plans & blueprints show you how to build a beautiful gable shed in your backyard. This shed has a rustic look and can be constructed quickly with basic woodworking tools.
It has a steep gable roof and simple joints that make it quite easy to construct. You can finish this project over a few weekends even if you have only basic woodworking skills. Make sure to take a friend’s help when building the roof.
8×10 Storage Shed Plans For Building The Floor

- Dig a 4 inch deep foundation matching the size of the shed base on the land where the shed will be located. Fill the base with gravel and then level it.
- Take three 6×6 skids of pressure-treated woods and set them up as shown in the 8×8 shed plans floor frame diagram.
- Place a plank along the skids to verify that they are they are perfectly horizontal.
- Build the floor frame by nailing together nine joists and two 2×6 rim joists. Verify that the floor frame is perfectly square by checking the diagonal length.
- Place the floor framing over the skids and verify its level. Nail the clip angles for the joists near every joist across the two skids on the outside. Toenail the skid at the center with every joist.
- Attach the tongue-groove floor sheathing over the floor frame making sure that it extends over the outer boundary of the frame.
8×10 Storage Shed Blueprints For Making The Walls


- Cut out six 90 inch long posts of 4×4 lumber and square both ends of each post. Four of these posts will be used at the corners and two will be used for the door frame.
- On the corner posts, mark 1.5 inch deep notches at a height of 46 inches from the base, on the adjacent inside faces of the posts.
- Make each notch 3.5 inches long. These will be used for attaching girts.
- Make the notches on the door frame posts at a height of 82 inches from the base for fitting the header for the door.
- Clear out the extra wood from the notches using a wooden chisel and circular saw. Verify that the girts fit into the notches tightly.
- Place the bottom of each post taking care that each post will be level with the shed foundation.
- Nail down the posts to the floor frame.
- The posts for the door will be 29 inches from the sides of the floor. Make sure the door posts are completely plumb. Nail them to the floor frame.
- Take two 8 feet and two 10 feet long beams of 4×6 lumber and notch their bottoms for connecting half lap joints.
- After verifying the depth and width of each beam, cut out notches in the beam equal to about half the depth using a saw and align them as shown in the 8×10 shed plans & diagrams.
- Confirm that the joints fit correctly and make the necessary changes to the wood using a small chisel.
- Fasten down an 8 foot beam over the wall posts of the front wall using nails.
- Fasten another 8 foot beam over the posts for the back wall.
- Now place the 10 foot beam onto the other beams and complete the half lap joints.
- Check that the walls are square by verifying the diagonal lengths.
- Bore plot holes into the beams for attaching the nails and then secure the beams to each other using galvanized nails.
- Use a metal connecter to strengthen the bond between each beam and post. Use L shaped connecters for strengthening the bond between the beams.
- Miter the ends of eight corner braces at a 45 degree angle and secure the braces to the outer side of each beam and corner post using screws and washers. Make sure to drill pilot holes for the screws into the braces.
- Find out the distance between the notches on adjacent posts and make girts that fit between them accurately.
- Cut out notches for the header in the door frame posts and then install the door header.
8×10 Shed Plans For Constructing The Roof


- Create two rafters that will serve as pattern and check that they fit snugly.
- Craft the other ten rafters using these two as a template.
- Make the ridge at a 120 degree angle using 2×6 lumber.
- Set up the rafters at a distance of 24 inches from each other.
- Make four pieces of 2×2 lumber that will stretch out from the peak of the roof to the ends of the rafters.
- Fasten these to the top of each rafter making sure they are level.
- Secure the connectors for the framing at each beam-rafter joint.
- Take four 58 degree collar ties of 2×4 wood and miter their both ends at a 45 degree angle.
- Setup the ties about 12 inches below the upper end of each rafter.
- Fasten siding to the back and front walls such that it goes from the bottom of the rafters all the way to the lower end of the shed base.
- Secure the siding using galvanized nails.
- Use sub-fascia to cover the ends of the rafter on the eaves and make them level with the upper ends of the rafters.
- Setup the trim and fascia towards the gable sides on the eaves and miter the corner junctions.
- Ensure that the trim and fascia are about half inch over the rafters such that it stays level with the sheathing on the roof.
- Cut out the panels of plywood such that they fit among the fascia and the wall frame.
- Secure the panels using screws or nails.
- Attach siding to the side walls and butt the upper ends to the soffits.
- Cover the roof with half inch sheathing beginning from the lower corners.
- Now attach the shingles to the roof keeping space for vents as required.
- Complete the roof by adding a ridge cap at the top.
Related: 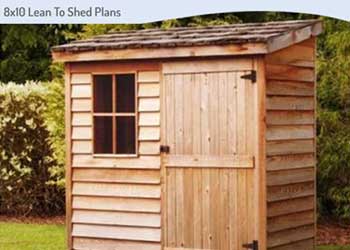
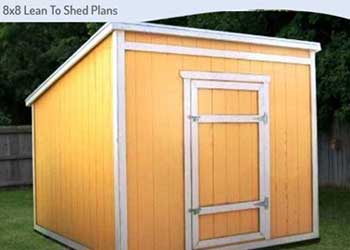
8×10 Lean To Shed Plans Blueprints
8×10 Gable Shed Plans For Assembling The Doors And Windows

- Build the frame for the door using pressure treated timber.
- Make the side jambs at height of 81 inches and head jamb at a height of 38 inches.
- Use 2.5 inch deck screws to secure the ends of side jambs to the head jamb.
- Fasten the door frame in the wall opening using nails and shims.
- Connect the stops at about 0.75 inches from the outer ends of the jambs.
- Seven pieces of 80.75 inch long siding is used for making the door.
- After attaching the boards with each other, shave off the excess wood so the door is exactly 3 feet wide.
- Use wooden screws and adhesive to secure the Z bracing.
- Attach 1×3 trim to both sides of the door frame and secure flashing on the outside facing side of the door.
- Use three hinges to attach the door to the door frame.